How to Manage Sub Accounts
Users can create sub accounts under a main account for the individuals and businesses.
First, log in to the web portal by entering your credentials.
Next, access the Account Settings page by clicking on the Your account link under the main navigation pane in the web portal dashboard.
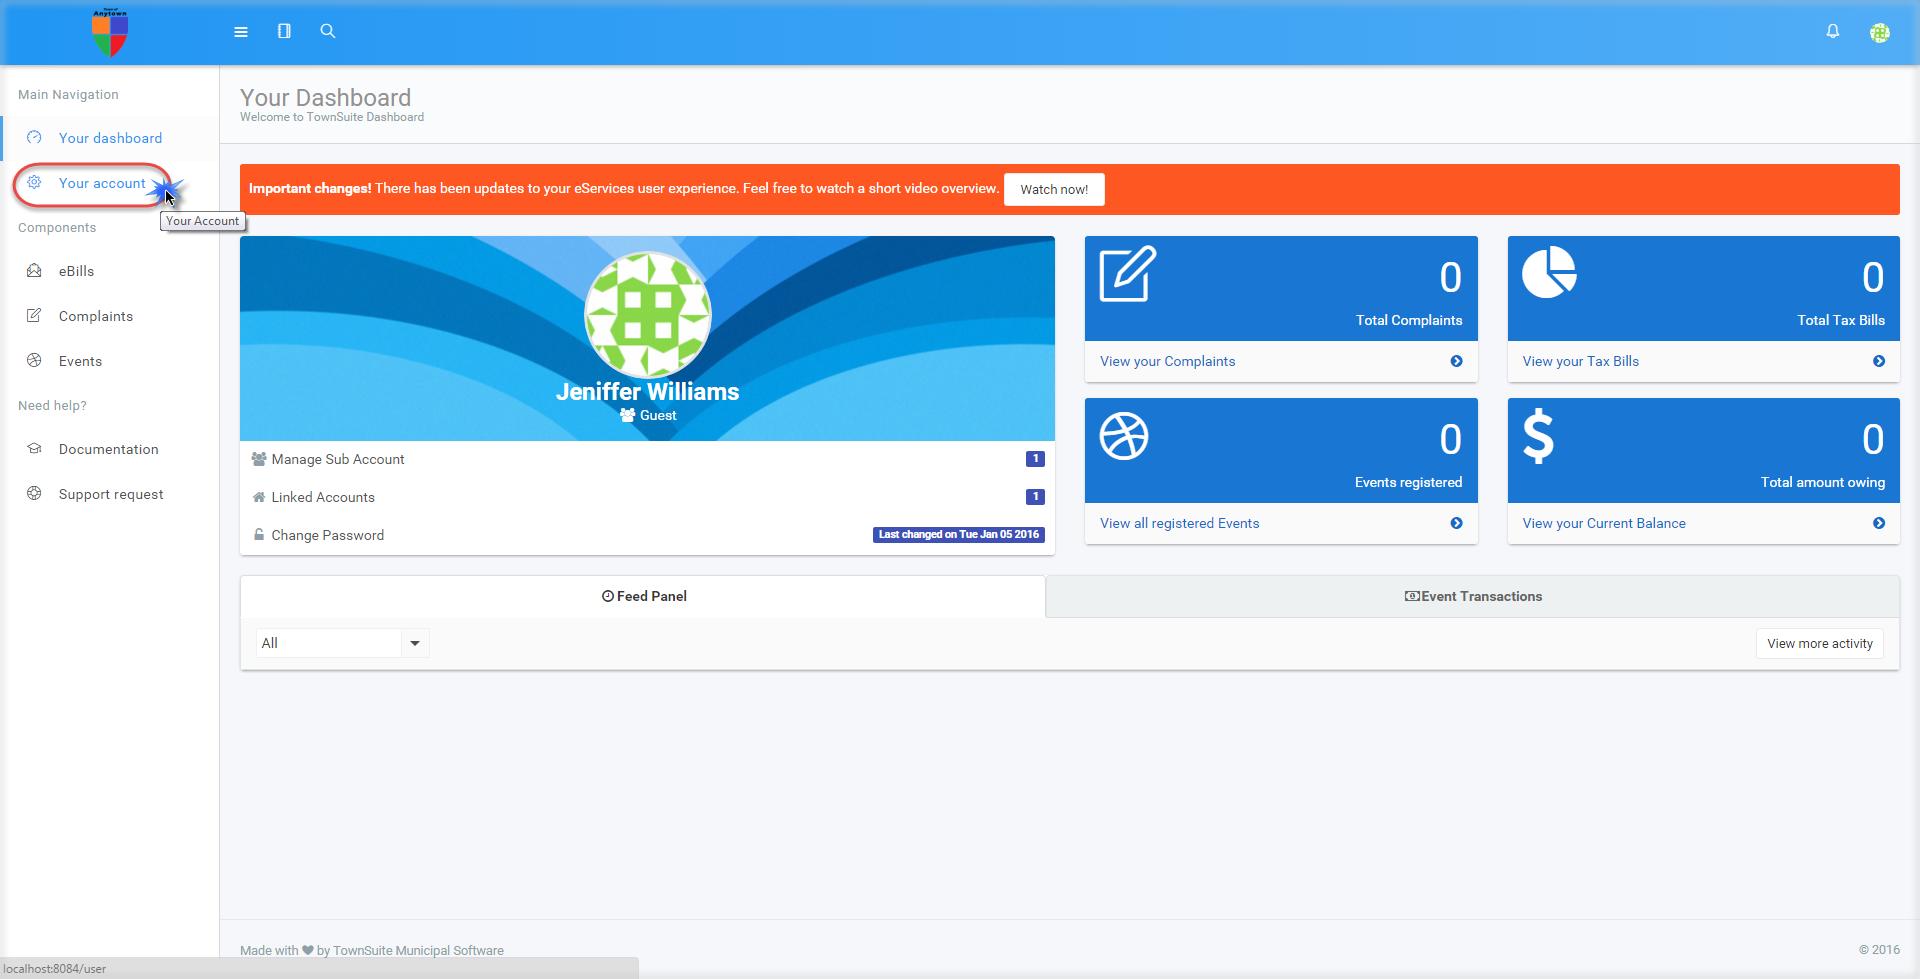
Once you have clicked on this link, you will be navigated to the Account Settings page. To create new sub accounts, click on the Manage Sub Accounts link.
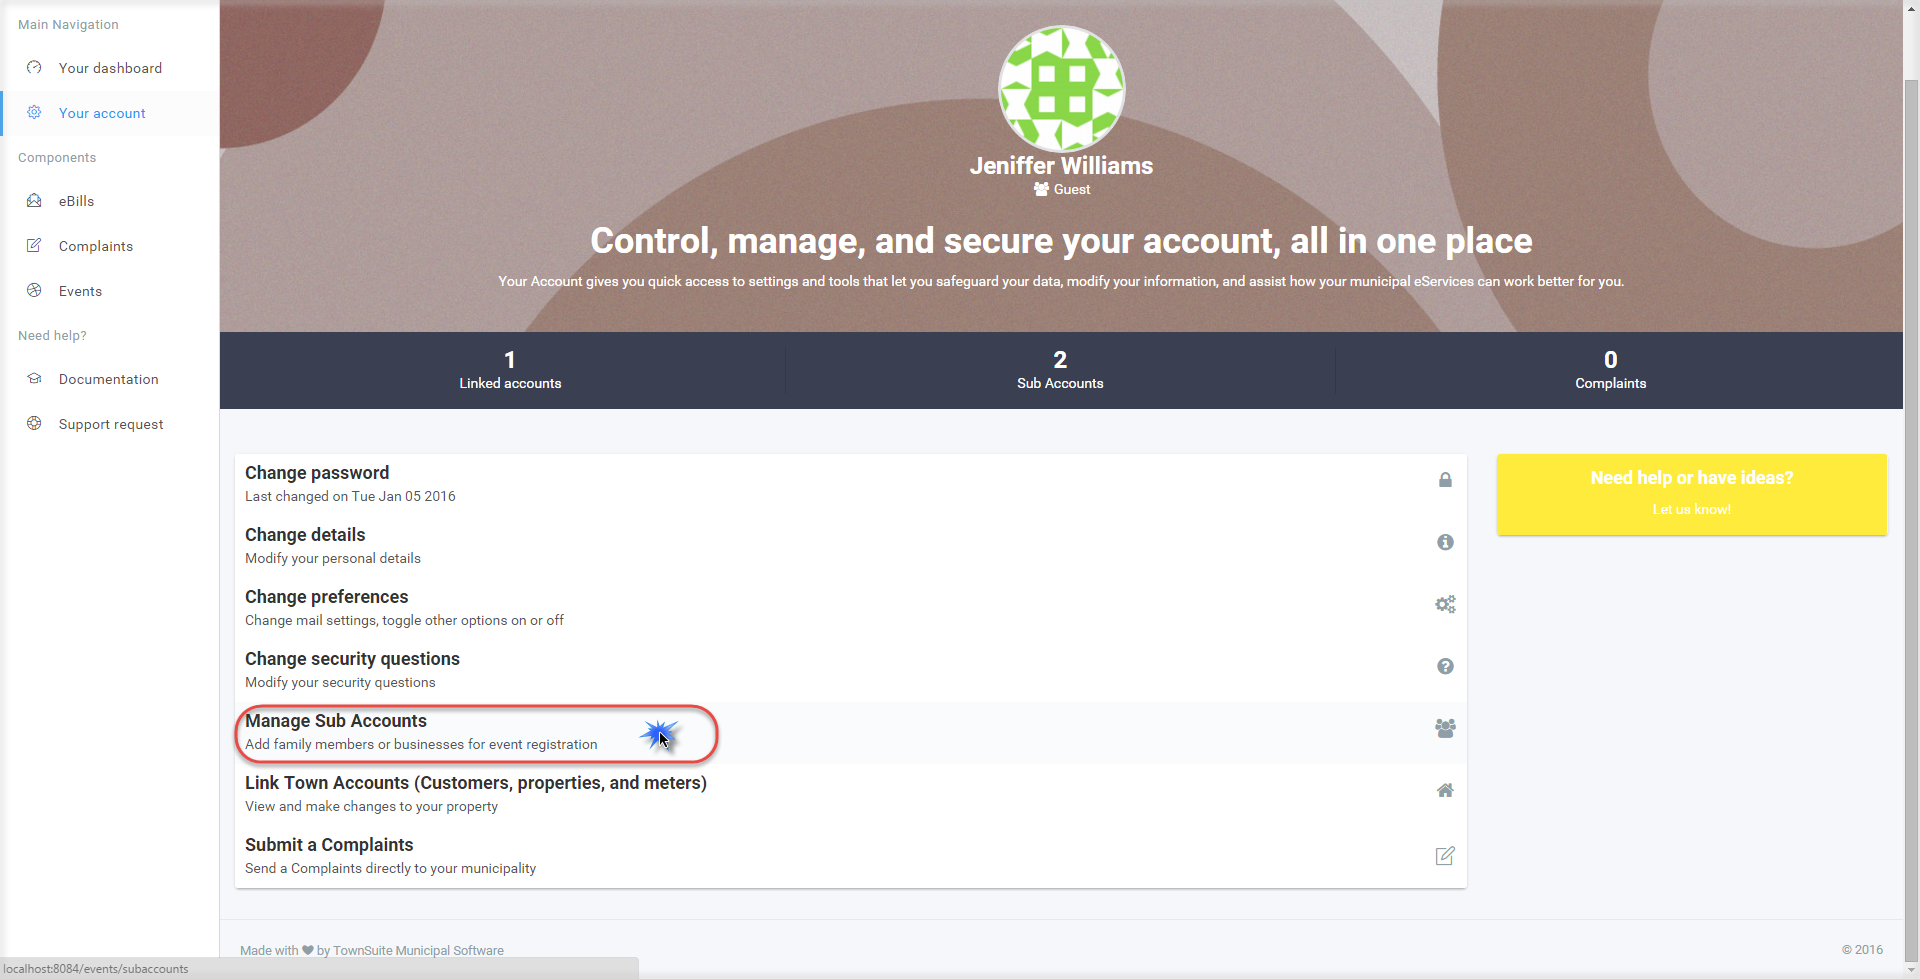
Once you have clicked on this link, the system routes to a page where you can create a new sub account. To create a new sub account, click the Create New Sub Account button.
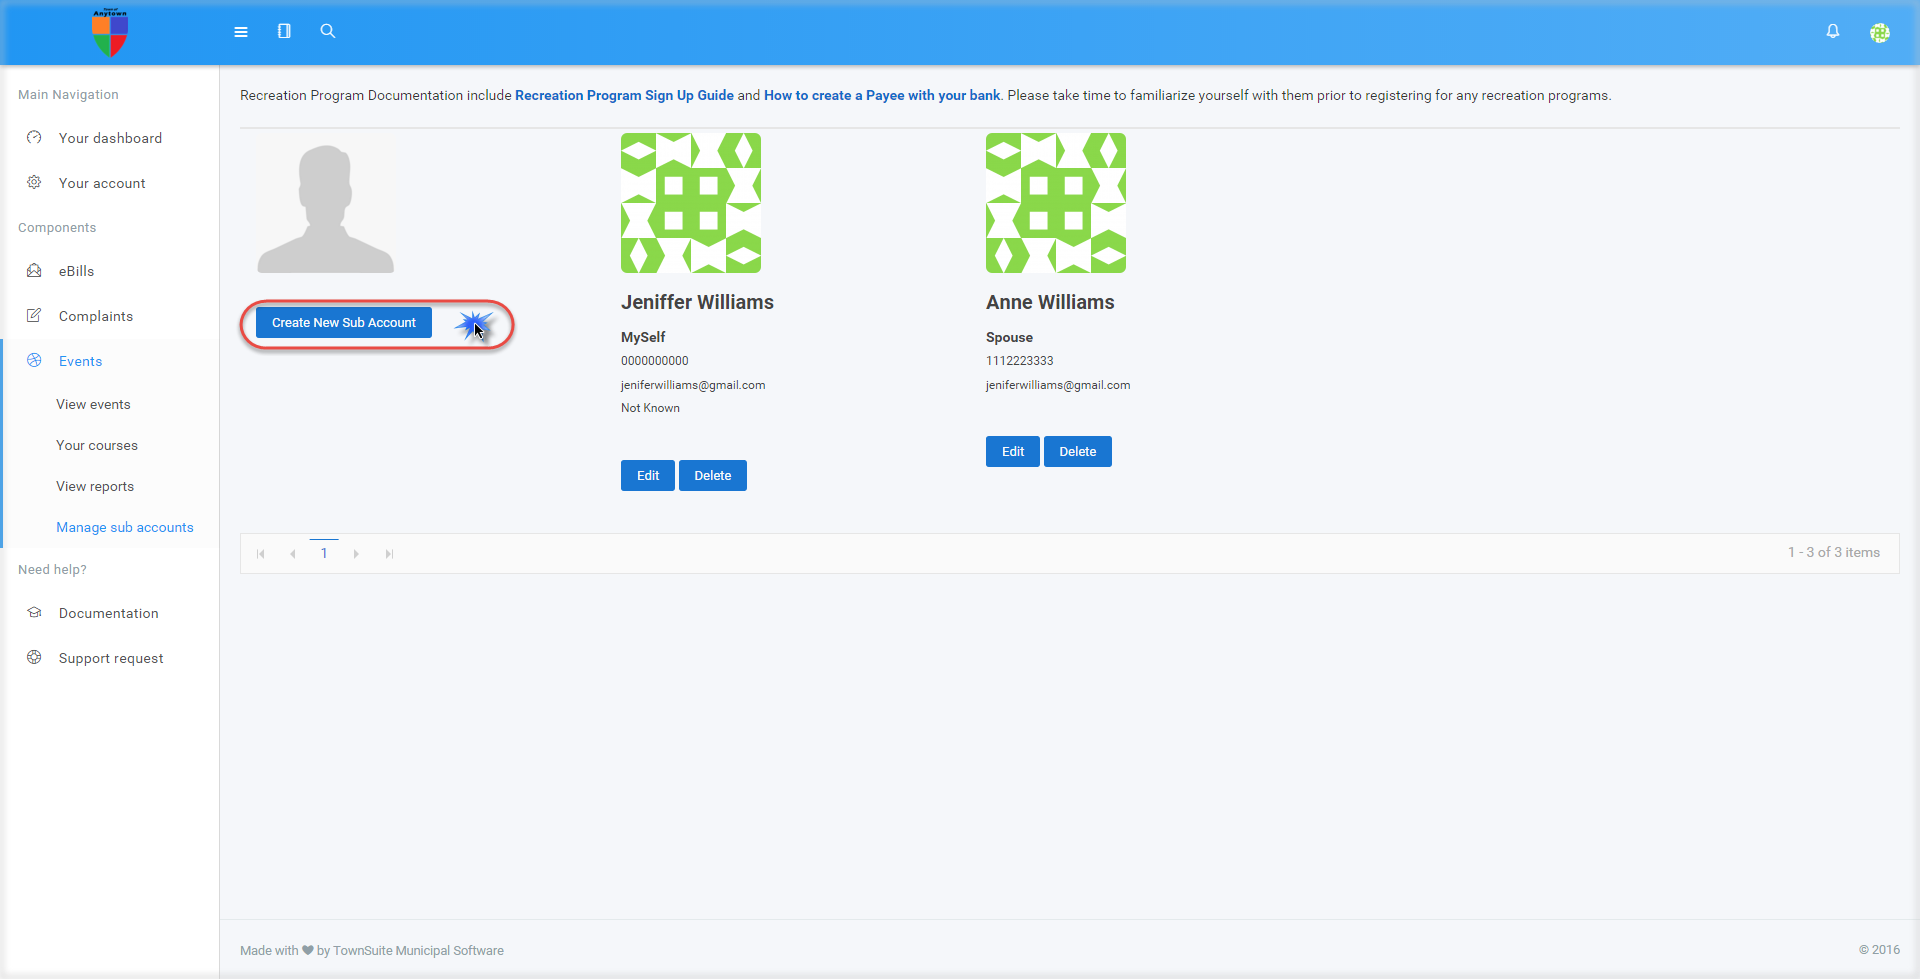
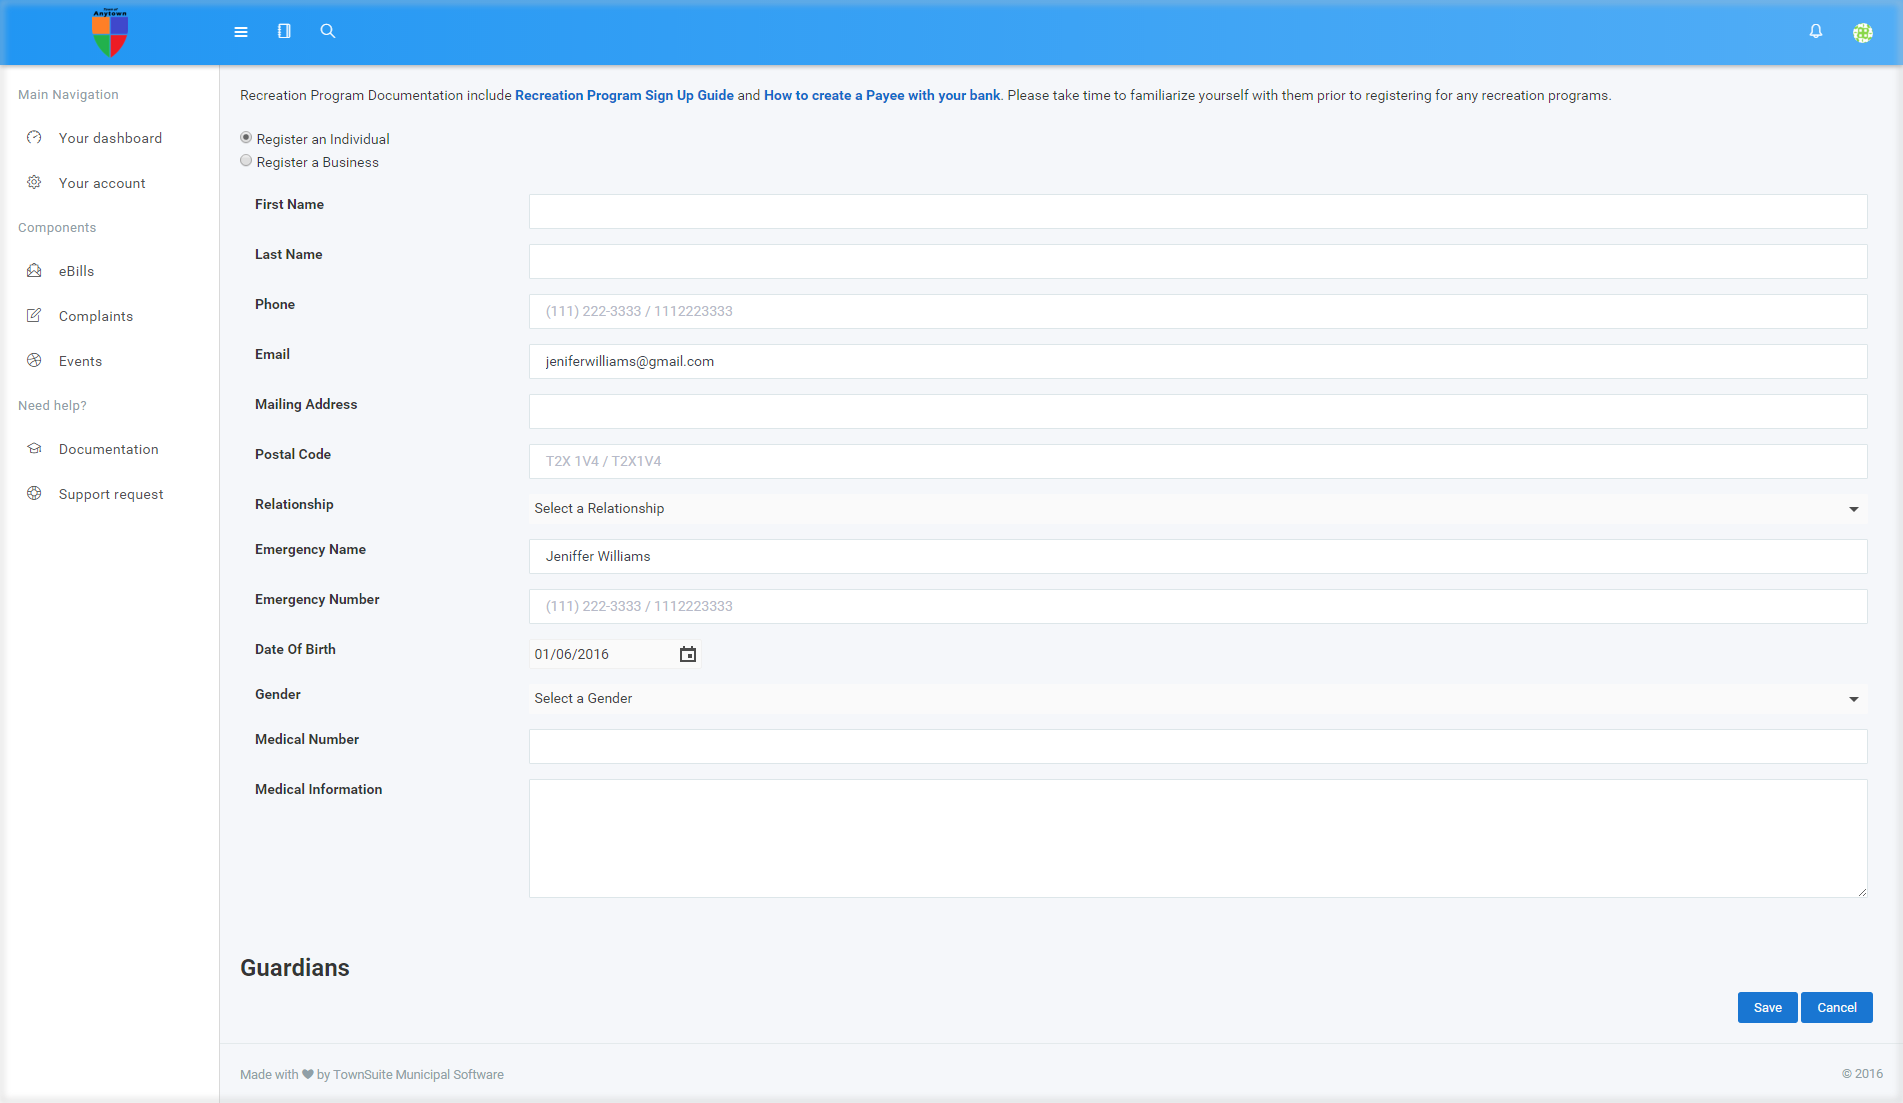
Once you have clicked on the Create New Sub Account button, you will be navigated to a page where the information of the new sub account can be entered.
When creating a new sub account, there are two options provided. They are Register an Individual or Register a Business.
Click one of the options, enter the information and click the Save button. After you have clicked the Save button, the sub account will be created. To close the page without creating the account, click the Cancel button.
To edit an existing account, click the Edit button. Make the relevant changes and click the Update button to save.
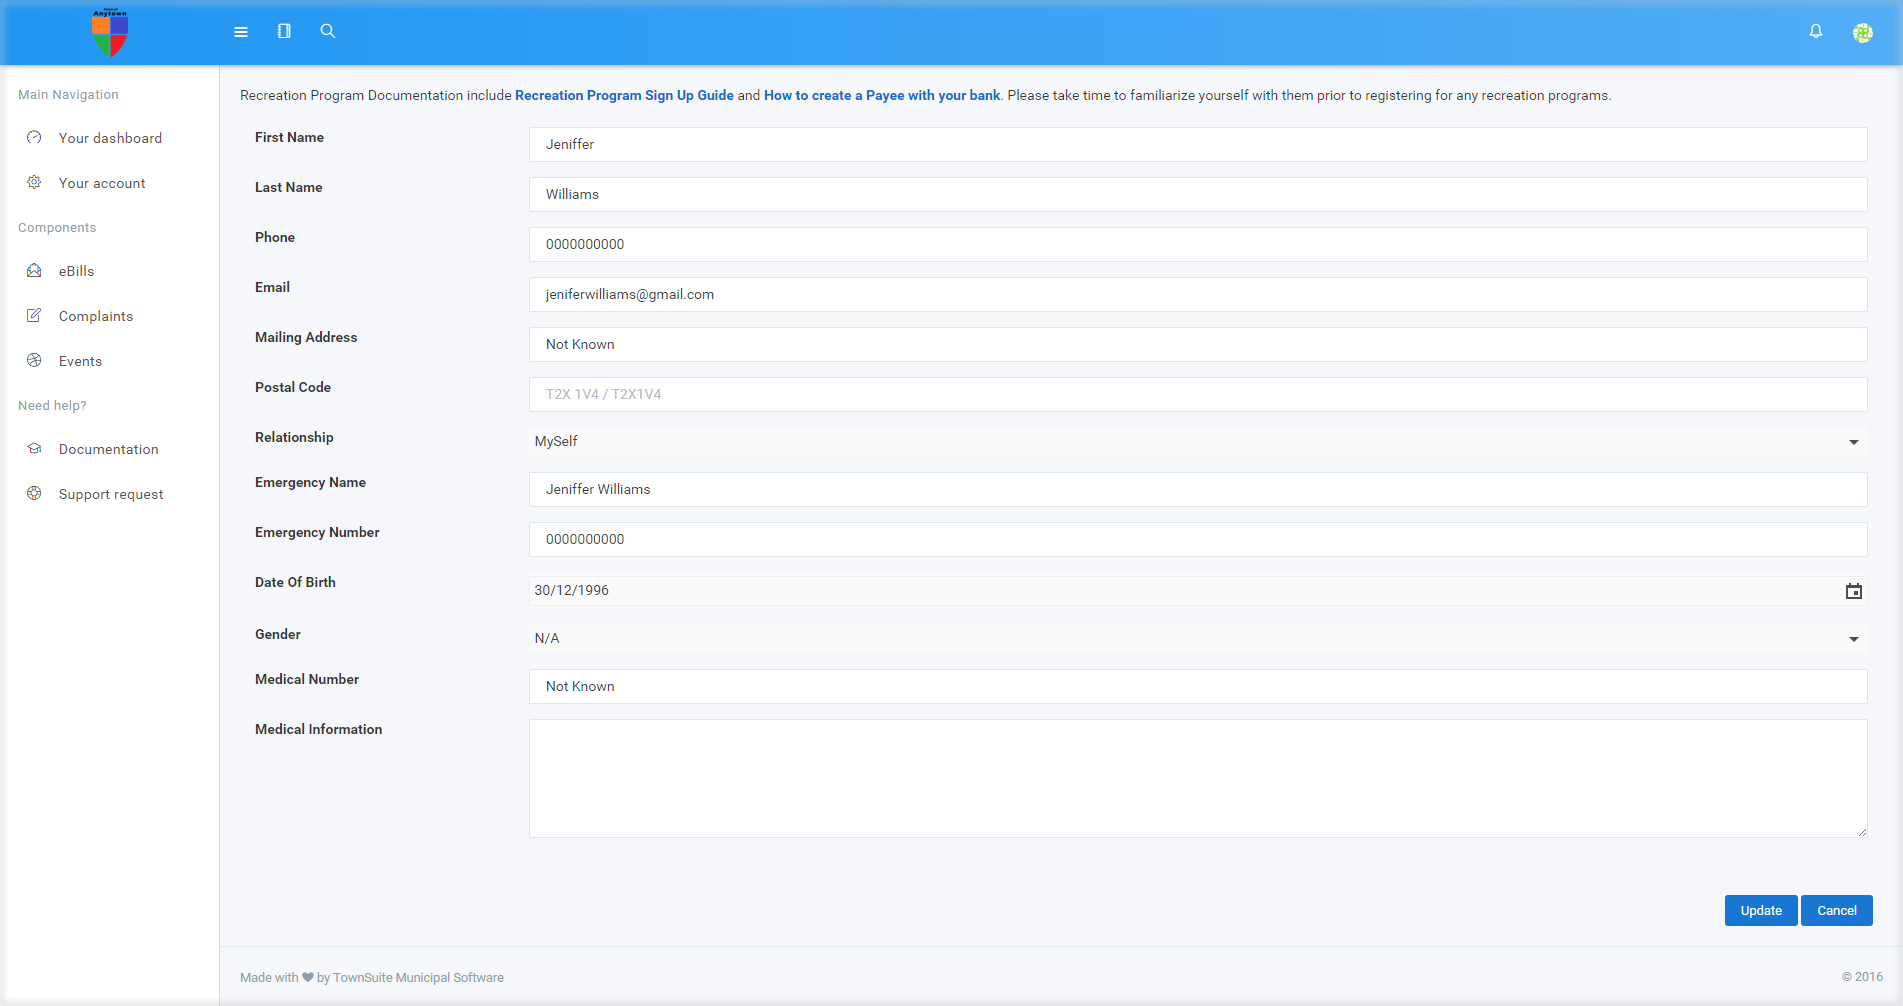
To delete a sub account, click the Delete button.
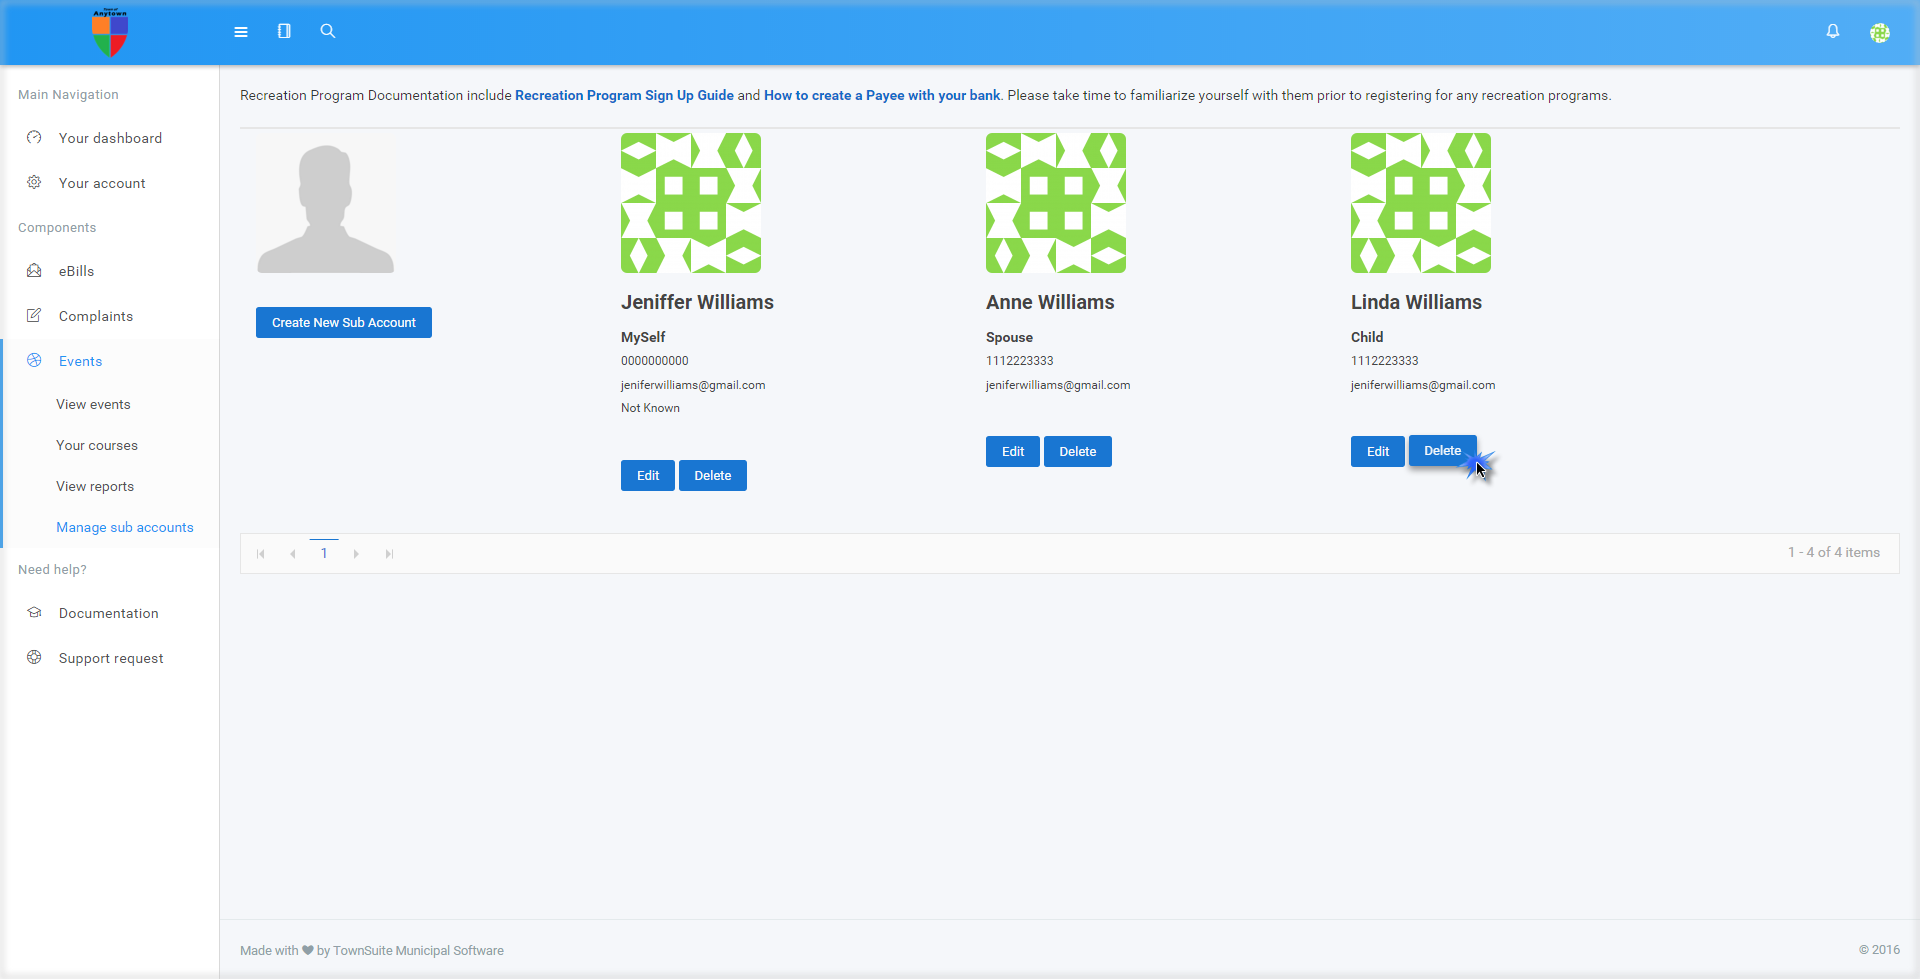
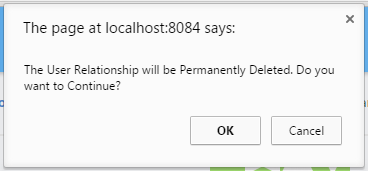
If there is a relationship assigned, before deleting, the interface will prompt a message “The User Relationship will be permanently deleted. Do you want to continue?” If you click on OK, you can proceed with deleting the sub account.
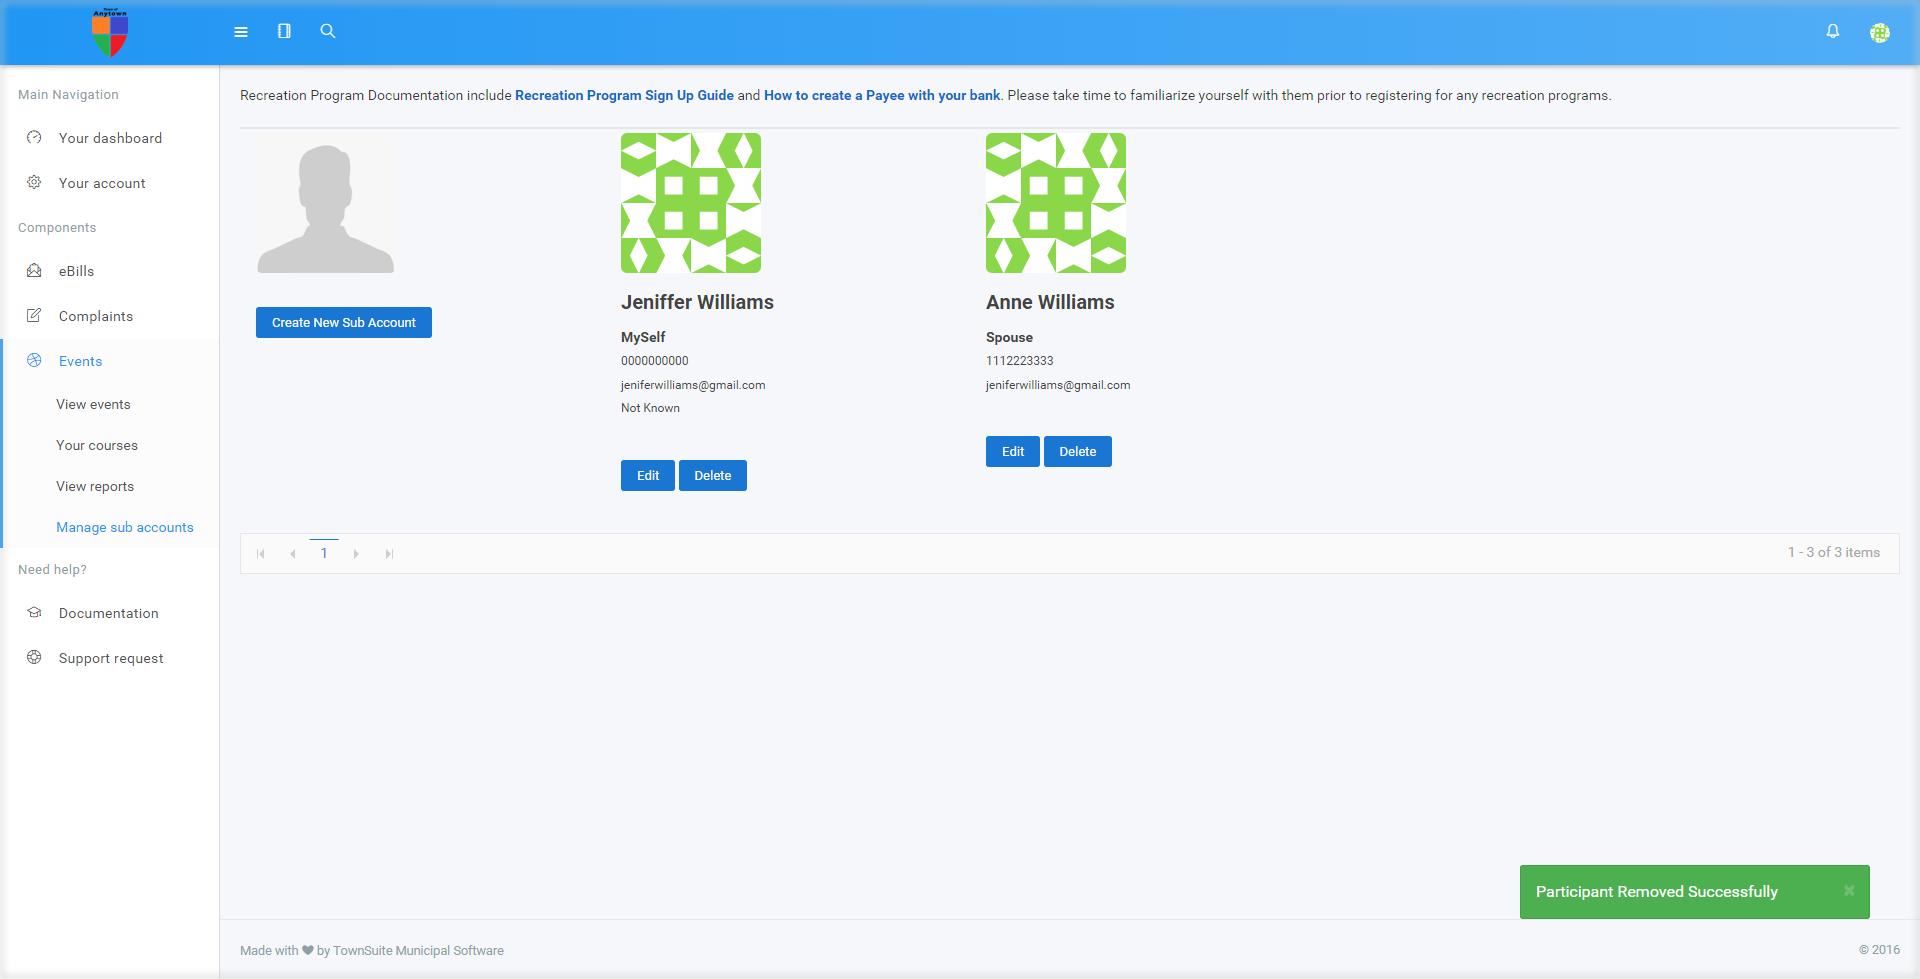
Once you have clicked on the OK button, the web portal deletes the sub account and displays a success message.
Please refer to the demonstration video below on How to Manage Sub Accounts.
Manage Sub Accounts from TownSuite Municipal Software on Vimeo.
